Easy Drawings for Plant Labels
Lavender and Chives
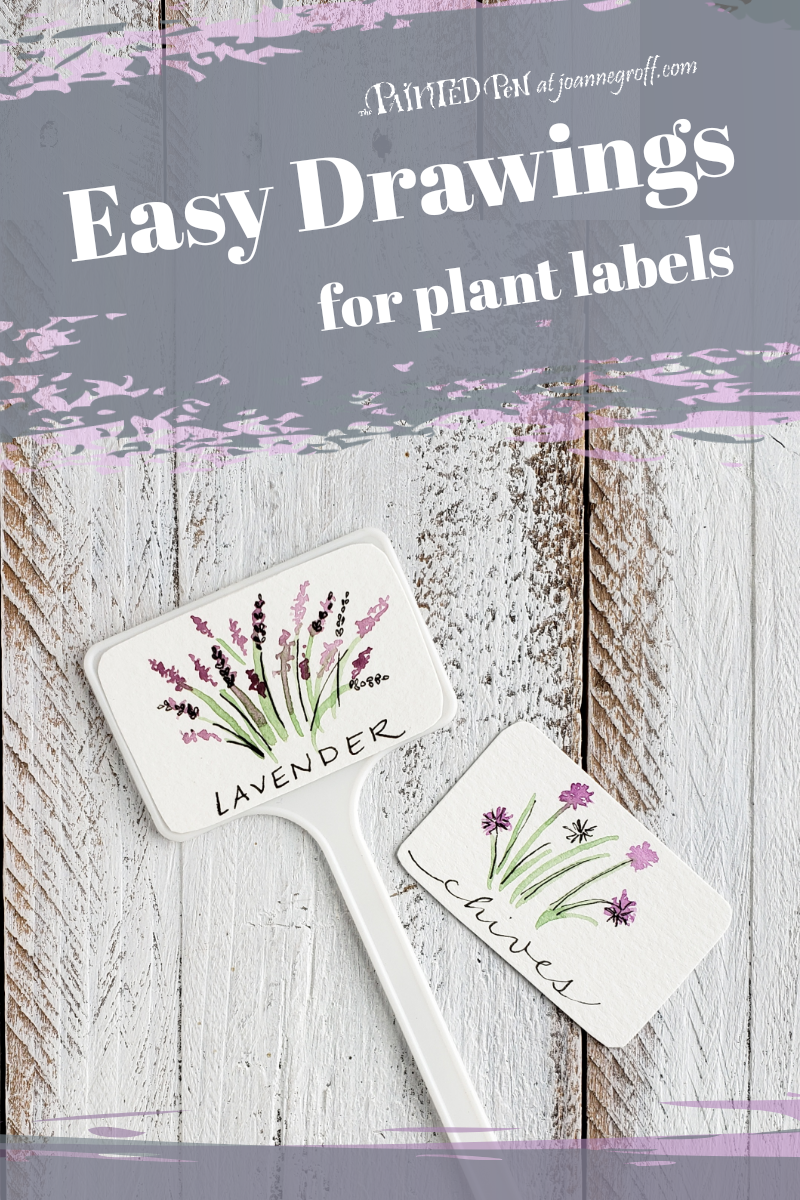
Create easy drawings for plant labels to identify your plants as they grow and add a touch of watercolor beauty to your pots as well. Today, we’ll draw lavender and chives.

As summer approaches, we add to our garden and patio plants weekly. Plants often inspire my drawings and watercolor, and the outdoors teem with inspiration right now. Strawberry plants bloom, tomatoes and peppers wait for the day they become fresh salsa, lavender promises blooms and aroma while chives and parsley offer deliciousness sprinkled over food … I could go on and on.
This week, we’ll turn this inspiration into easy drawings for plant labels. After drawing, painting, and lettering them, you can use them to decorate indoor plants or give them with a plant. (These markers are for indoor use only, as they are not waterproof.)
We may get our inspiration for these plant labels in the spring and summer, but these tags can be used anytime. Sometimes, I’ll plant something in the end of summer to have as a gift at Christmas time. Herbs work especially well for this. People enjoy getting an herb when the weather has already turned cold, as a reminder of warmer days and a pinch of freshness to decorate their room or add to their dinner.
When you make these drawings, you can start with watercolor or ink (as long as you use waterproof ink after it’s dried). As part of the tutorial, I’ll show you each way, just so you can see how the layers come together.
What you need:
- Water, watercolor paper, masking tape, paper towel and brush
- Purple watercolor paint
- Green watercolor paint
- Micron pen, I used a size 01 (or use any waterproof ink)
- double -sided tape or mounting squares
- Plant markers or craft sticks
- Scissors
Before you start painting, it may help to divide your paper into small squares the size of your finished label. Measure and use a pencil to lightly sketch the boxes. This way, if you are fitting some of them to plant markers, you won’t make your drawings too big. I made my squares about 1.5” x 2.25”, leaving them square for use with the popsicle sticks and trimming them slightly to fit the plant markers (I couldn’t find my plant markers online, so just measure the size of your markers before you paint). Don’t cut them apart yet.
Tape your paper to a flat surface to help it dry flat.
Lavender Drawing – Ink First

A cluster of lavender is made up of repeated stems and blooms. Use your micron pen to draw thin lines in a cluster, like in the picture above. On some of the stems, draw blooms by in the shape of tiny teardrops at different angles to form an elongated group of blooms.
Micron pens dry quickly but wait a few minutes before you add watercolor.
Draw green lines for lavender stems. Keep them pretty thin; lavender stems are petite and long. Fill in the space between the micron stems to make the cluster look full.
Then, use lazy stippling to create tiny blooms. Paint blooms randomly, with some over the drawings and some without drawings. (Learn more about lazy stippling when you read How to Use Stippling for Watercolor Texture.)
It looks like this:
(See more projects that use lazy stippling here. It’s a technique that mixes dotting and lightly dragging your brush across the paper.)
Chives Drawing – Watercolor First

Paint green stems and leaves for your chives. Leave a little more space between the chives stems than you did with the lavender.
Next, add a few little poofs of purple for the blooms.
When the watercolor is dry, use a micron pen to draw some pointy chive stems. Don’t outline the watercolor perfectly. Instead, offset the lines and color randomly.
Follow the same offset with the chive blooms. Draw lines in a circle to create the look of a chive bloom. Overlap some blooms with the purple watercolor and leave some blooms in ink only.
Watch them in action – Ink first
Watch it in action – Watercolor First
As you can see, the process is similar whether you start with the ink layer or the watercolor layer.
Add some lettering in a style you love. If you want some lettering inspiration, check out this post, Calligraphy Alphabet, a new letter style starts with one letter.
Cut them to fit your plastic, reusable plant labels. Then use double-sided tape or scrapbook mounting squares to attach them. As an alternative, you can leave them square and attach them to craft sticks for a more rustic look.

I only have outside herbs right now, but here are some pictures of the tags with real plants.


I wish I would have thought of this idea several years ago when I painted these pots to give basil plants at Christmas.

Now, go crazy making these for all of your plants …

… and if you figure out an easy way to make them waterproof for outdoor use, please share it in the comments below!
As always, Thank you for reading!
Write it! Draw it! Dance it! Dream it! Then, go use it!

I’d love to see your drawings! Share them on Instagram and tag me @the.paintedpen or share that you tried it on Pinterest alongside one of my pins. Follow me there at thepaintedpen!
And remember … you can have The Painted Pen tutorials delivered to your inbox along with other articles, free worksheets and updates surrounding watercolor and lettering. Sign up for Blots & Jots emails here!
Joanne Groff
Just a brainy creative with a fascination about how people think and understand. I use watercolor and letter design to encourage connection ... with self, the environment, and especially the people who live there.

